单单用github page写个blog就够了吗,可是别都google不到你的文章,只是写给自己看吗?为blog加入seo,这样,别人就能google到你的文章。
安装插件生成sitemap
1 | npm install hexo-generator-sitemap --save // 传统的 |
修改站点配置文件
在_config.yml中,加入
1 | sitemap: |
并将原url改成自己的blog地址,然后执行hexo g,在public生成sitemap.xml和baidusitemap.xml,打开文件发现就是各blog地址的url。
然后提交站点到google(和百度)
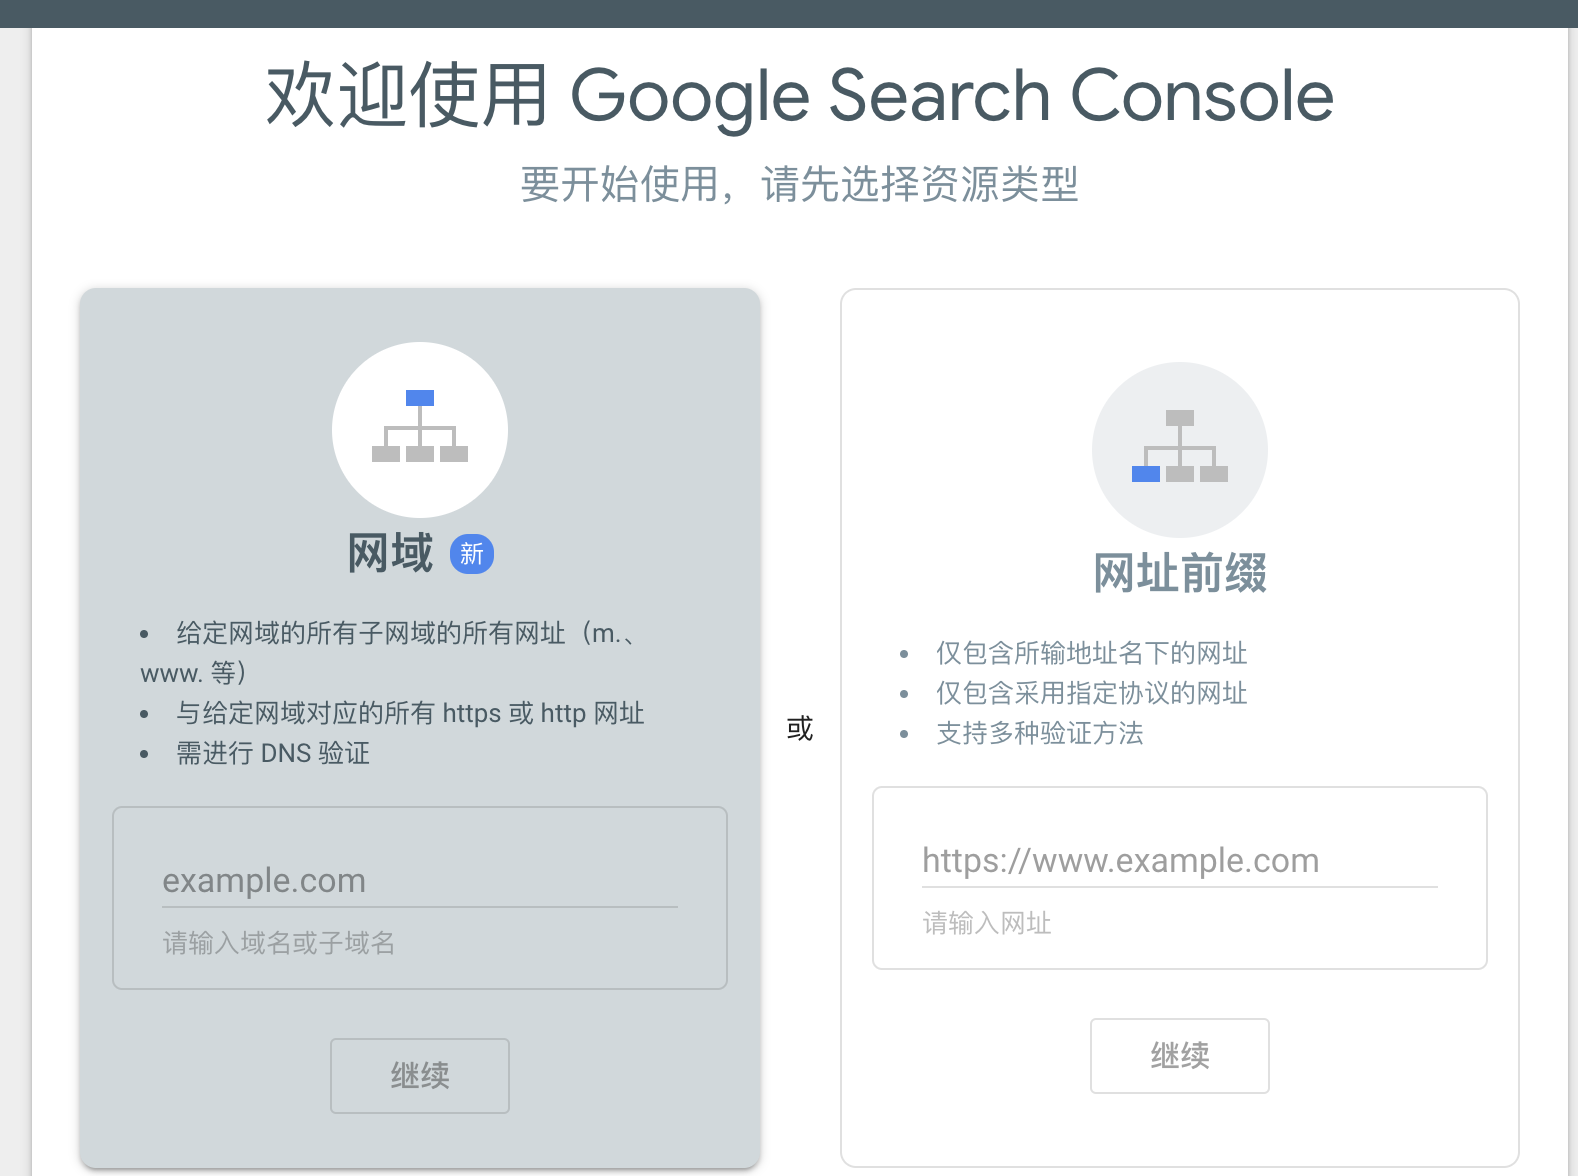
选择网址前缀,输入blog地址,然后就是所有权验证,有多种验证方式,这里采用推荐的html验证:
下载html验证文件,加入到/source文件夹,然后编辑验证文件,加入
1 | layout: false |
让hexo不处理这个文件,并且不生成这个文件的sitemap,然后执行
1 | hexo clean |
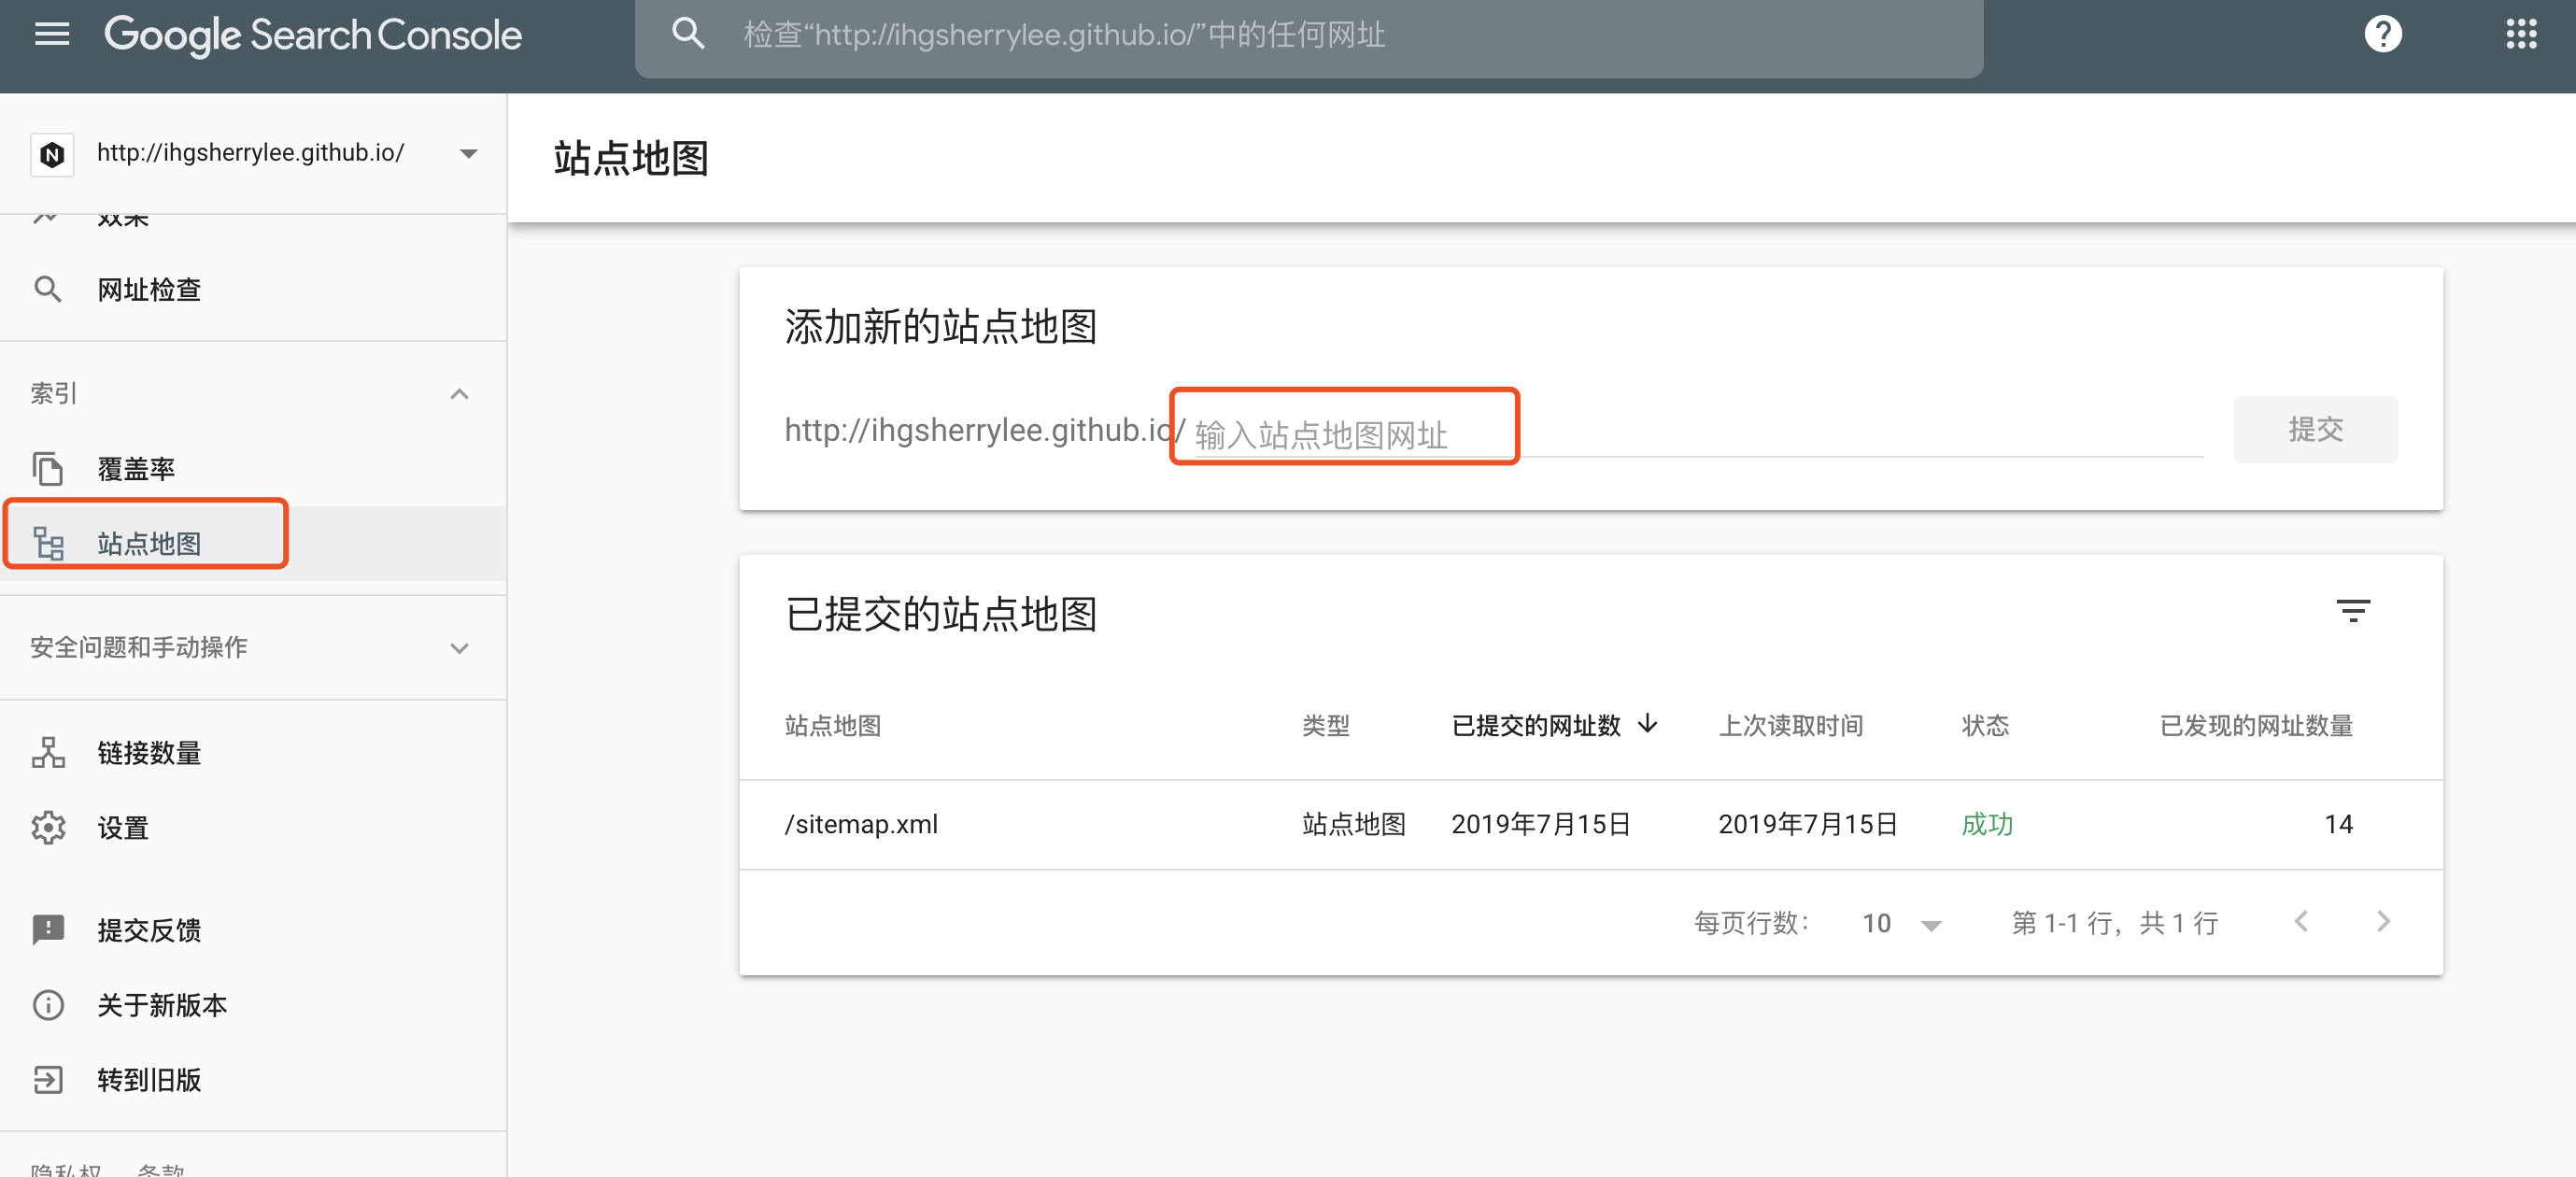
部署完后在google点击验证,即可验证通过。然后提交站点地图
next主题已经配置了自动推送百度的代码,_config_yml:
1 | baidu_push: true |
即可。
优化url目录
可是这样还有一个问题,hexo生成的文章链接是使用年/月/日这种文件目录结构的,这样对搜索爬虫并不友好,url链接超过了3层,所以,我们要将url简化,安装:
A Hexo plugin to generate static post link based on post titles.
1 | npm install hexo-abbrlink --save |
然后配置_config.yml里permalink相关配置
1 | permalink: :year/:month/:day/:title/ // 原permalink |
Sample
The generated link will look like the following:
2
3
4
5
6
7
8
9
10
11
> https://post.zz173.com/posts/66c8.html
>
> crc16 & dec
> https://post.zz173.com/posts/65535.html
> crc32 & hex
> https://post.zz173.com/posts/8ddf18fb.html
>
> crc32 & dec
> https://post.zz173.com/posts/1690090958.html
>
然后重新编译发布,/posts/82d92ad4/就是类似生成的文章地址。